Thursday, September 8, 2016

Futurepoly project

Hello everyone!  So I believe I mentioned at some point before that I was going to start some classes at Futurepoly in May.   If I didn't then, well, I finished up the classes in early August just before I moved to Michigan.  The classes were excellent and I'm incredibly happy that I took them -- I learned so much from Jason Stokes and Thomas Scholes.  Having feedback and learning tips from industry veteran artists like them was more helpful than I thought it would be and I'm pretty excited about the project I began working on for the class.

So this new project (yes, another one -- all projects listed in this blog will be revisited someday) has certainly come a long way.  I've been slowly working on it since I started my classes back in late May and it will become a great portfolio piece eventually.  It will probably take me about a year (working on it part time) to finish it completely.  I broke down the environment like Katie taught me and did some paint overs in Photoshop to get a feel for what I'd need.

Original concept by Hethe Srodawa:


I did a blockout in Unreal to get a sense of size and scale:


This is usually the point where I just pick something and start working on it until it gets difficult and then I pick something else, work on it, get stuck, etc., etc.  But this time I was able to choose things that we were going over in class and I instead learned 3DS Max with in class projects while tailoring the lessons to my own assets.  The main project of the class was to work on a building and so I attacked it with the idea that I was going to build it in modular pieces and use them to build structures in the concept.  I found a building that I liked and one Jason thought would be a great reference:


And my current progress to date is:


And the modular pieces it's created from:


So there it is as of today.  There was a lot of learning and steps involved to be sure, but I haven't kept meticulous screenshots this time around because I was focused on learning.  I'll add some more as I continue with the project.  Be warned though, I will probably update this blog with another project as I'm now in Michigan and there isn't much call for 3D environment artists out here -- I'm gonna have to change gears a bit and focus on creating things the industry out here wants; mostly cars and ad banners, yay.  But anyway, thanks for reading and I hope you have a great week!

Saturday, April 2, 2016

Command Bunker

Hello again!  So I was recently introduced to a fellow veteran and 3D artist who made the suggestion that I create a small but complete environment as my next project.  She's been most helpful and kind in offering me feedback and guidance and, thus the Command Bunker is born.

This is going to be a bit of a departure from my usual subject matter as I'm going with modern to near future this time around.  I decided to base this on a scene from the movie Edge of Tomorrow with Tom Cruise and Emily Blunt.

I grabbed about a dozen screenshots from the movie and settled on two in particular to use as my primary concept images:


Both of these give me the best overview of the environment.  As I worked on cleaning up and dissecting these images, I decided this area is going to act as a mission planning, gear up room that a player might visit prior to choosing and proceeding to a game mission.  The lockers can be used to choose player loadout, the firing range can be used by the player to sight in and test their weapons after making adjustments at the work bench, and the holo-table can be used to select from available missions.  That's as far as I've gotten in the concept for now and its enough to get started.

I did a couple of paint overs to separate out assets.  My artist friend suggested I use in-engine geometry (BSP) wherever possible because, where she works and the engine they use, the environment art team utilizes BSP a majority of the time.  Everything that I've researched about Unreal BSP says that its always preferable to use static meshes instead due to the overhead.  With this in mind, I decided to split the difference and use BSP for the primary surfaces; floors, walls, ceilings, stairs, and create static meshes for everything else.  The paint overs are below:


Assets:
- Center table (environment focus)

1) Concrete barrier
2) Locker (usable asset, player loadout)
3) Work bench (useable asset, weapon upgrade/calibration)
4) Stool
5) Concrete structural joist
6) Wall junction box
7) Pelican gun case
8) Flight helmet
9) Steel pelican case
10) Overhead caution barrier
11) Fluorescent light
12) Small tool box
13) Ammo
14) Shotgun
15) AR
16) Shell casing

17) Work bench machinery (bonus assets)

Number 17+ will be anything that the scene needs as I get closer to completing it.

After that I did a basic break down of the tileable textures and decals for the environment:


And from all of this built the texture list:

1) Conrete walls and ceiling
2) Concrete floors
3) Padded cloth walls

Decals:

1) Bullet holes
2) Energy burns
3) Vents
4) Stenciled text
5) Cracks/damage

With the environment broken down and a basic concept roughed out, I jumped into UE4 and blocked out the level to get a sense of scale:


Thanks for reading and I'll see you again soon!

Thursday, March 3, 2016

Art test and an inspired project

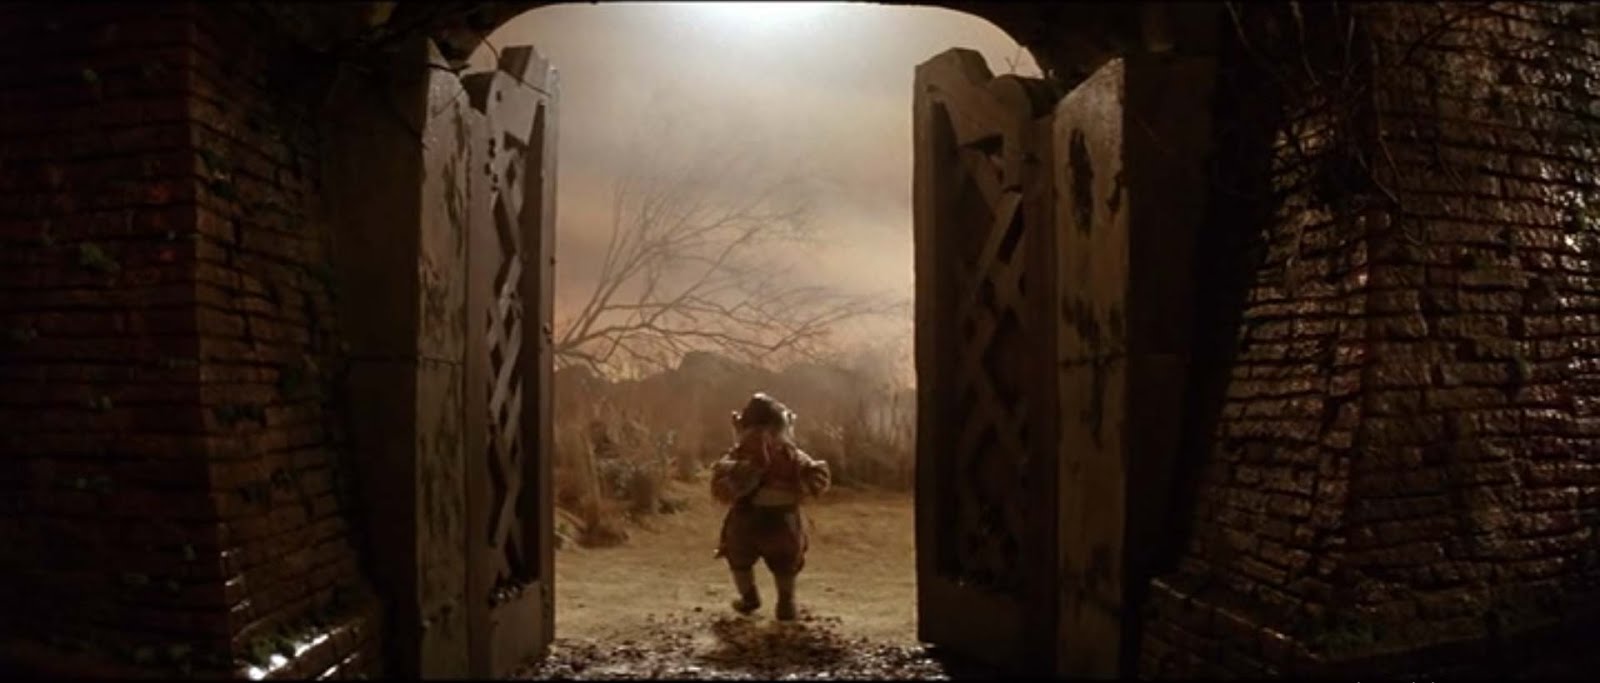
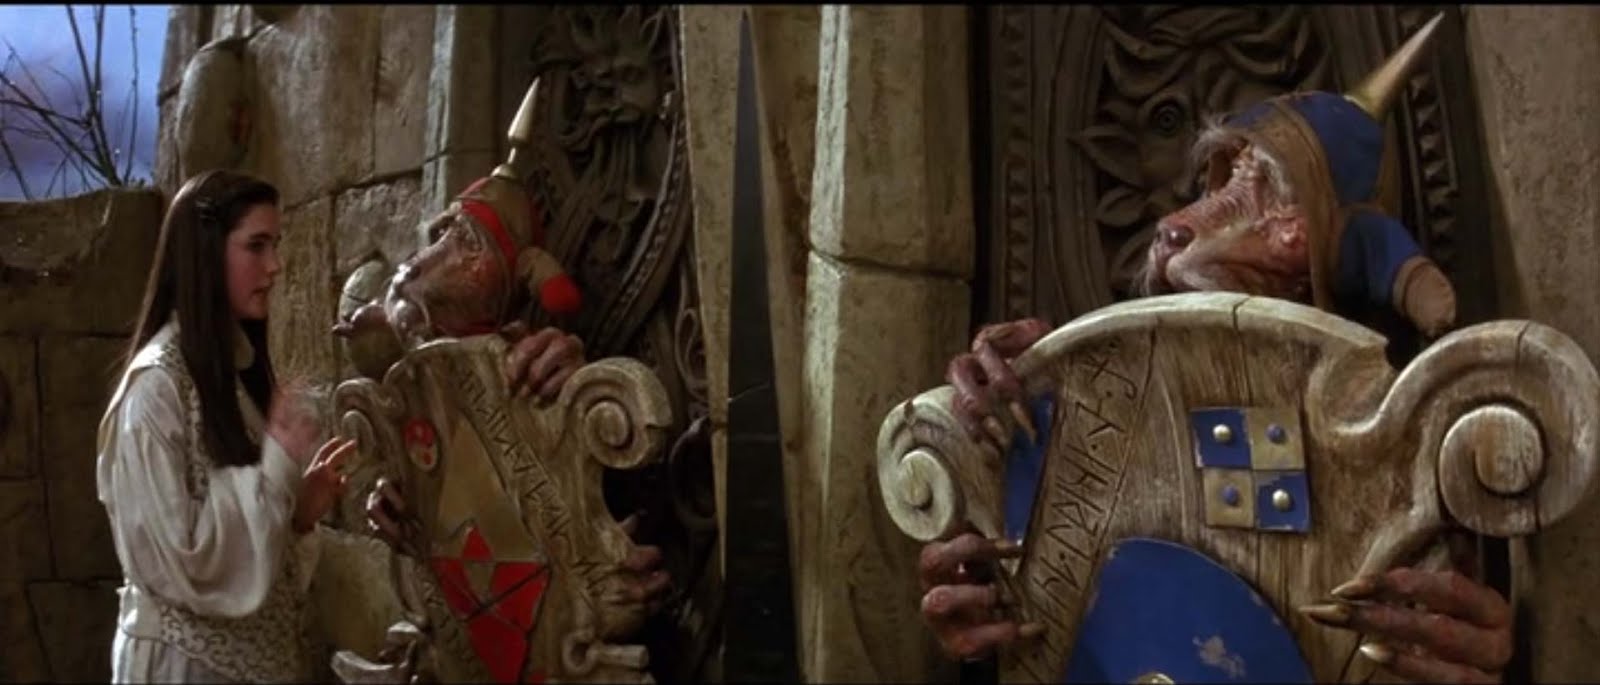
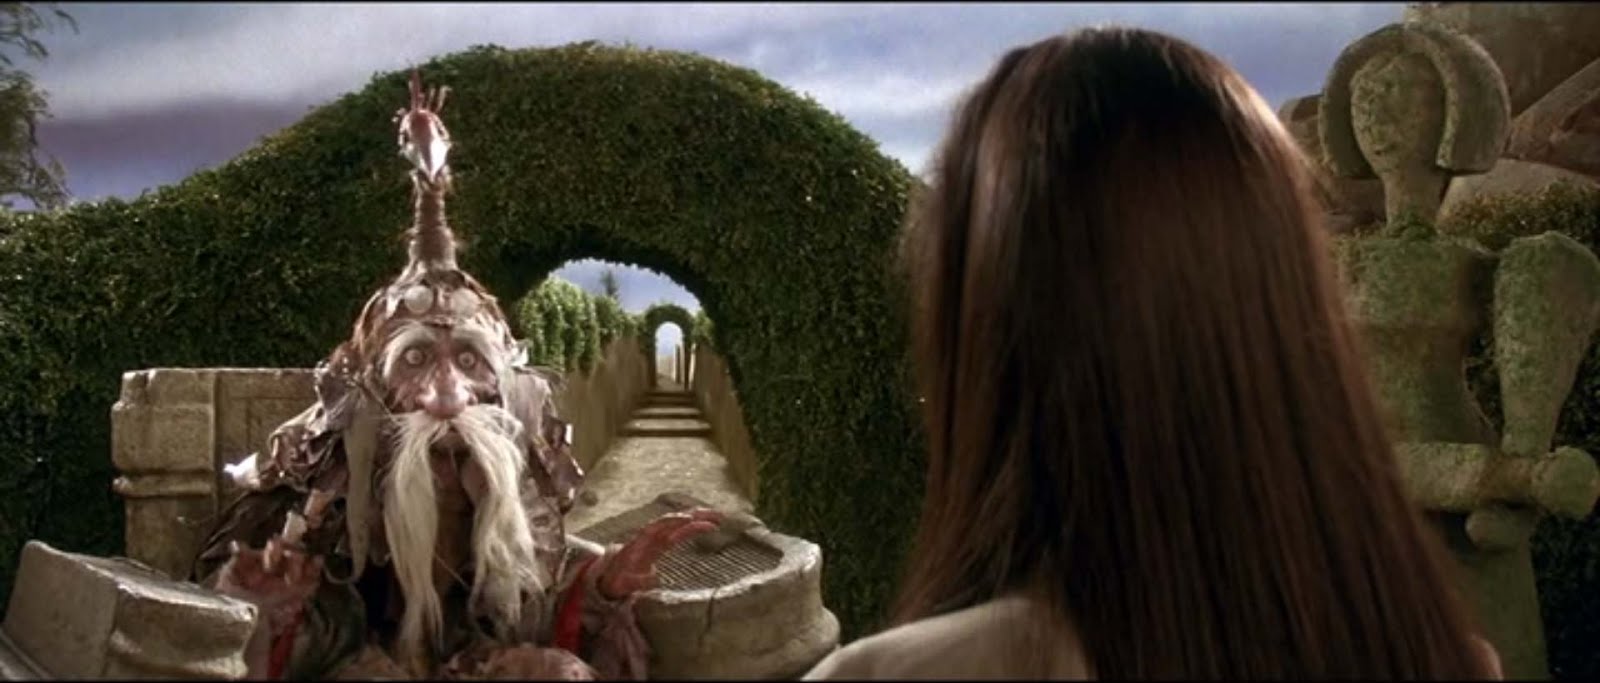
Hello honored guests, thanks for stopping by again!  So I haven't worked on my Labyrinth tribute to date for a couple reasons; a) I had an art test with a company  b) While working on said art project, I stumbled across my old Victorian door way project and I had a sudden burst of inspiration and decided to go for it.  As my fellow artists out there know, you have to jump on those inspired moments when they come!

So I found a reference for an old doorway that I liked and started modeling it while I was at work during downtime way back in January of 2015.

I got about as far as doing the outer stone arch, the inner arch, and the door itself before I became distracted by other things -- which is everything you see below...minus the effigy  :)


When I found the doorway project, I immediately had the idea of glowing runes to ward away evil.  From that point, I took the outer stone arch and brought it into Substance Painter to mess around with emissive maps.  I liked the results but I needed some good looking runes to actually make it look awesome -- so I decided to try making my own.

I did so by taking a chalk brush and adding a bunch of jitter effects, then painting random curves and shapes.  After about 10 or so pages, I went back with a hard eraser and broke up the shapes.  I ended up with several pages of pretty excellent looking runes and chose these 9 for this project


The results with the runes on the archway were pretty awesome.  This was the point at which I was committed to completing the doorway.


The next thing I worked on was the inner arch.  After getting a base texture down and painting in some custom grime, I found there was a huge blank area that was screaming for something to make it more interesting.


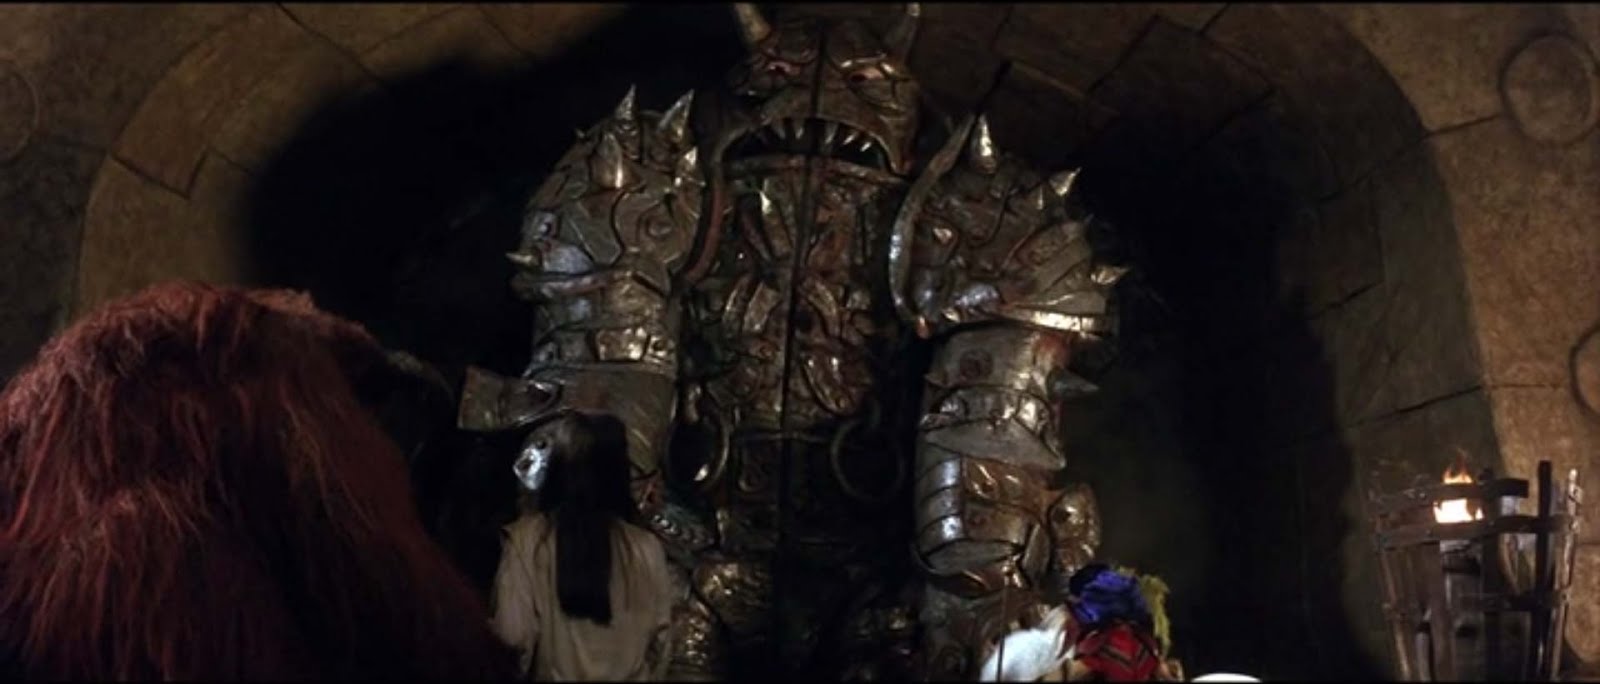
Elder Scrolls Online has been my game of choice lately and I was impressed by the visage of Molag Bal in Coldharbour -- ESO is also fairly heavy in glowy runes  :)


So I thought if this doorway were meant to ward off evil, then there should be a representation of that evil present to give direction and shape to the warding spells.  So I dove into Zbrush and started sculpting.  Eventually a demonic face began to take shape and I added horns with the points in the shape of an upside down pentacle -- also, the demon face kinda reminds me of the original Doom demons!


This was my first serious attempt in a long while at retopping.  I also learned that next time, instead of trying to bake normals from a concave model, I'm going to simplify the silhouette as much as possible.  As you can see I had a lot of issues with the demon mouth.  If it were not going to be a metallic effigy covered in rust and corrosion, I'd go back and fix it -- for now I'll let it ride and see what it looks like at the end.


And after a quick smart material in Substance Painter:


Next I needed to create a mount for the demon head on the inner arch, but I wanted to do so using a normal map rather than modeling.  So I popped into Substance Designer and created a basic, demonic emblem shape and stenciled it onto the asset in Substance Painter as well as some more of those glowy runes:


Now my most complex piece to date; the stained glass window.  I decided to use the modeled door decor to test out thickness maps mixed with emissive maps.  I've never done a thickness map before so it will be a process I'm sure.  I started by finding some stained glass door designs that I liked and using them as reference.  Then I created a template in PhotoShop.


Unfortunately I didn't grab the UVs from Maya to reference the scale of the window to the actual modeled piece, so I'm hoping that I can adjust the model itself to fit the texture later.  If not, well, sadface; because this process has been the most work on this project so far and re accomplishing it will suck.

I also wanted to pay particular attention to the glass texture as the light reflectance will play a big part in making this look believable.  So I found a reference and went into Substance Designer to create a couple of variations.


Which I then used as stencils to paint on different pieces of glass.  The result as far:


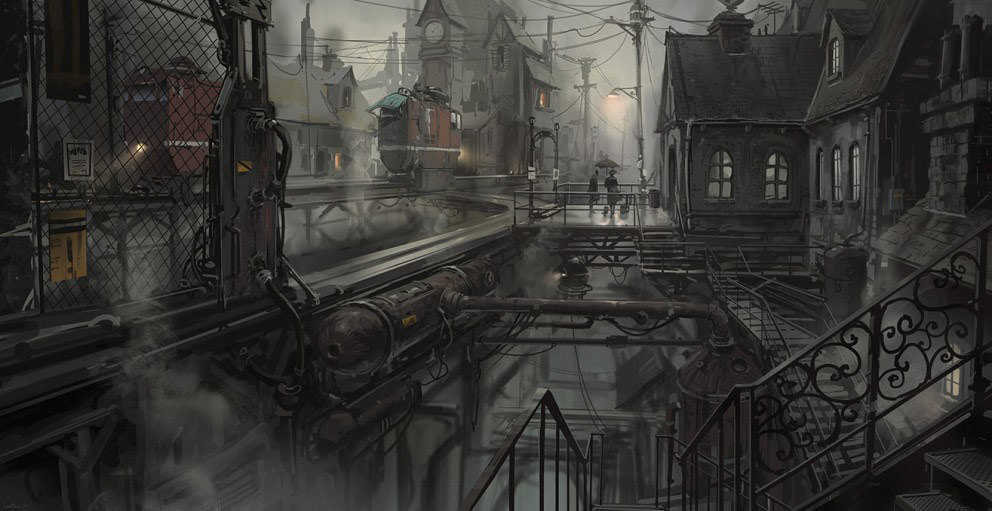
So this is my current progress update.  I will have more as I wrap this up but I wanted to get a blog update logged since I've been having so much fun working lately and because I've been gone for so long.  Next I'll be finishing the door to include a door knob, modeling a couple of pillars and a street lamp to use as a light source, and then plugging it all into Marmoset for some final renders.  I plan on further expanding this project to flesh out the reference image below that was taken by my old boss and friend, John Hancock.  The image is from Paris, France.


Thanks for taking the time to give this a read and I'll have another post for you guys as well as a portfolio update in the next couple weeks!

Sunday, January 31, 2016

It's been a long road

Hello again!  It's been a good bit of time since I last posted an update.  It certainly wasn't my intention to be gone for so long but life happened and sometimes you just gotta do you.  In my case, shortly after Pax Dev, I ended up going through some personal hardships which, in turn, made the next eight months a little difficult.  

This period was not without high points though; I landed a job at 343 Industries as a member of the Hammer team and performed daily build verification tests.  I was a proud member of the team and the studio until I was offered a huge financial opportunity out on the east coast -- with only one week to move there.  So, in April 2015 I turned in my notice, sold my things, packed what remained, and left in the wee hours of the morning on a long trip to Ohio.  Finally, after 8 long months of doing a job that I will describe as slightly monotonous, I finished up and began the long trip home to the Pacific Northwest.  Now, in this new and exciting year, filled with new and exciting opportunities and technologies, I make my triumphant (at least in my mind) return to the games industry!  

Which brings us to the purpose of this post (nice transition eh?).  As you know, David Bowie passed away on January 10th this year.  He starred in one of my favorite childhood movies, Labyrinth.  While watching it over the holidays, I was inspired to recreate some of the beautiful and imaginative environments from the movie.  Originally I was going to do so after finishing the Old Watermill, but I decided to push it to the forefront of my agenda after he died.

So after watching the film again tonight and grabbing some screenshots, I've selected nine environments from which to narrow down to a short list.  They are (in order of film appearance):

1.  The Entrance

"I thought fairies did nice things, like granting wishes."
"Hah, shows what you know."


2.  The Throne room

"Dance magic dance!"

3. Doors of the Liar Paradox

"He always lies."
"I do not, I tell the truth!"
"Ohhh what a lie!"

4. The Oubliette

"Nice young girl, terrible black oubliette."

5. The wise man and the bird brain

"It's so stimulating being your head."

6. Ludo's tree

"Sawa! Sawa fweind!"

7. Old man door knockers

"Mumble mumble mumble, you're a wonderful conversational companion."
"You can talk, all I can do is moan!"
"No good, *sniff*, can't hear you."

8. Bridge over troubled bog

"I've never smelled anything like it, it's like..."
"Ohhh, it doesn't matter what it's like; it's the Bog of Eternal Stench!  Help!"

9. Goblin city gate guardian

"I don't see why we have to be so quiet, it's only a goblin city."


If you were alive for any portion of the 80s and 90s, you probably love looking at these pictures as much as I do!  There are other, more complicated scenes in this movie that I'd really like to work on and I may still throw them into the mix -- but for now this is enough to get started.  There is a school out here in Seattle called Futurepoly and I am signed up for their Zbrush core class at the end of February -- I plan on working on the majority of this project while I'm there.

So that's all for now.  I should have another update in a few weeks as I continue the planning process.  I have been gone from game development for almost a year so there's going to be some kinks to work out of the ol' skill set, but then that's why I have a blog  :)  Thanks for reading and, as always, feedback and suggestions are most welcome.  Happy 2016!